
Multics + Android:DPS8M on Android devices
I was recently approached by a friend who needed some help getting DPS8M running on an Android tablet.
The DPS8M simulator has been running on Android devices for a long time now, with early support initially committed back in November 2014, targeting Android 5 Lollipop, by Charles Anthony. This was done in response to a post to the mailing list from a Multics user waiting for the day that a full Multics system could run “in your pocket”.
Ten years ago Android wasn’t exactly new — by then six years old — but was much less mature and capable than the Android we know today. Running the simulator on an Android device at that time required tethering the device to a desktop or laptop computer and interacting with the simulator using the adb (Android Debug Bridge) software. Once up and running, a local TELNET app could be used to access the simulated FNP, although the FNP support was rudimentary and most Android TELNET apps didn’t make interacting with Multics a very pleasant experience.
However, while Android has remained a “supported” platform for the simulator, our support for it was never really first-class (or even documented). None of our developers regularly work with (and often don’t even own) Android devices, and it wasn’t until recently that fast and cheap 64-bit mobile processors became ubiquitous. Yes, 64-bit Android devices were apparently available in 2014, but the reality was, even as of late-2017, that the majority of actively used Android devices were not yet 64-bit capable, something that is very important for optimal simulator performance on ARM CPUs.
Let’s see what the current state of Multics on Android is today (in 2024).
If you have experience with both the Unix command line and Android devices, you should be able to follow along.
|
|
We used two Android devices for testing:
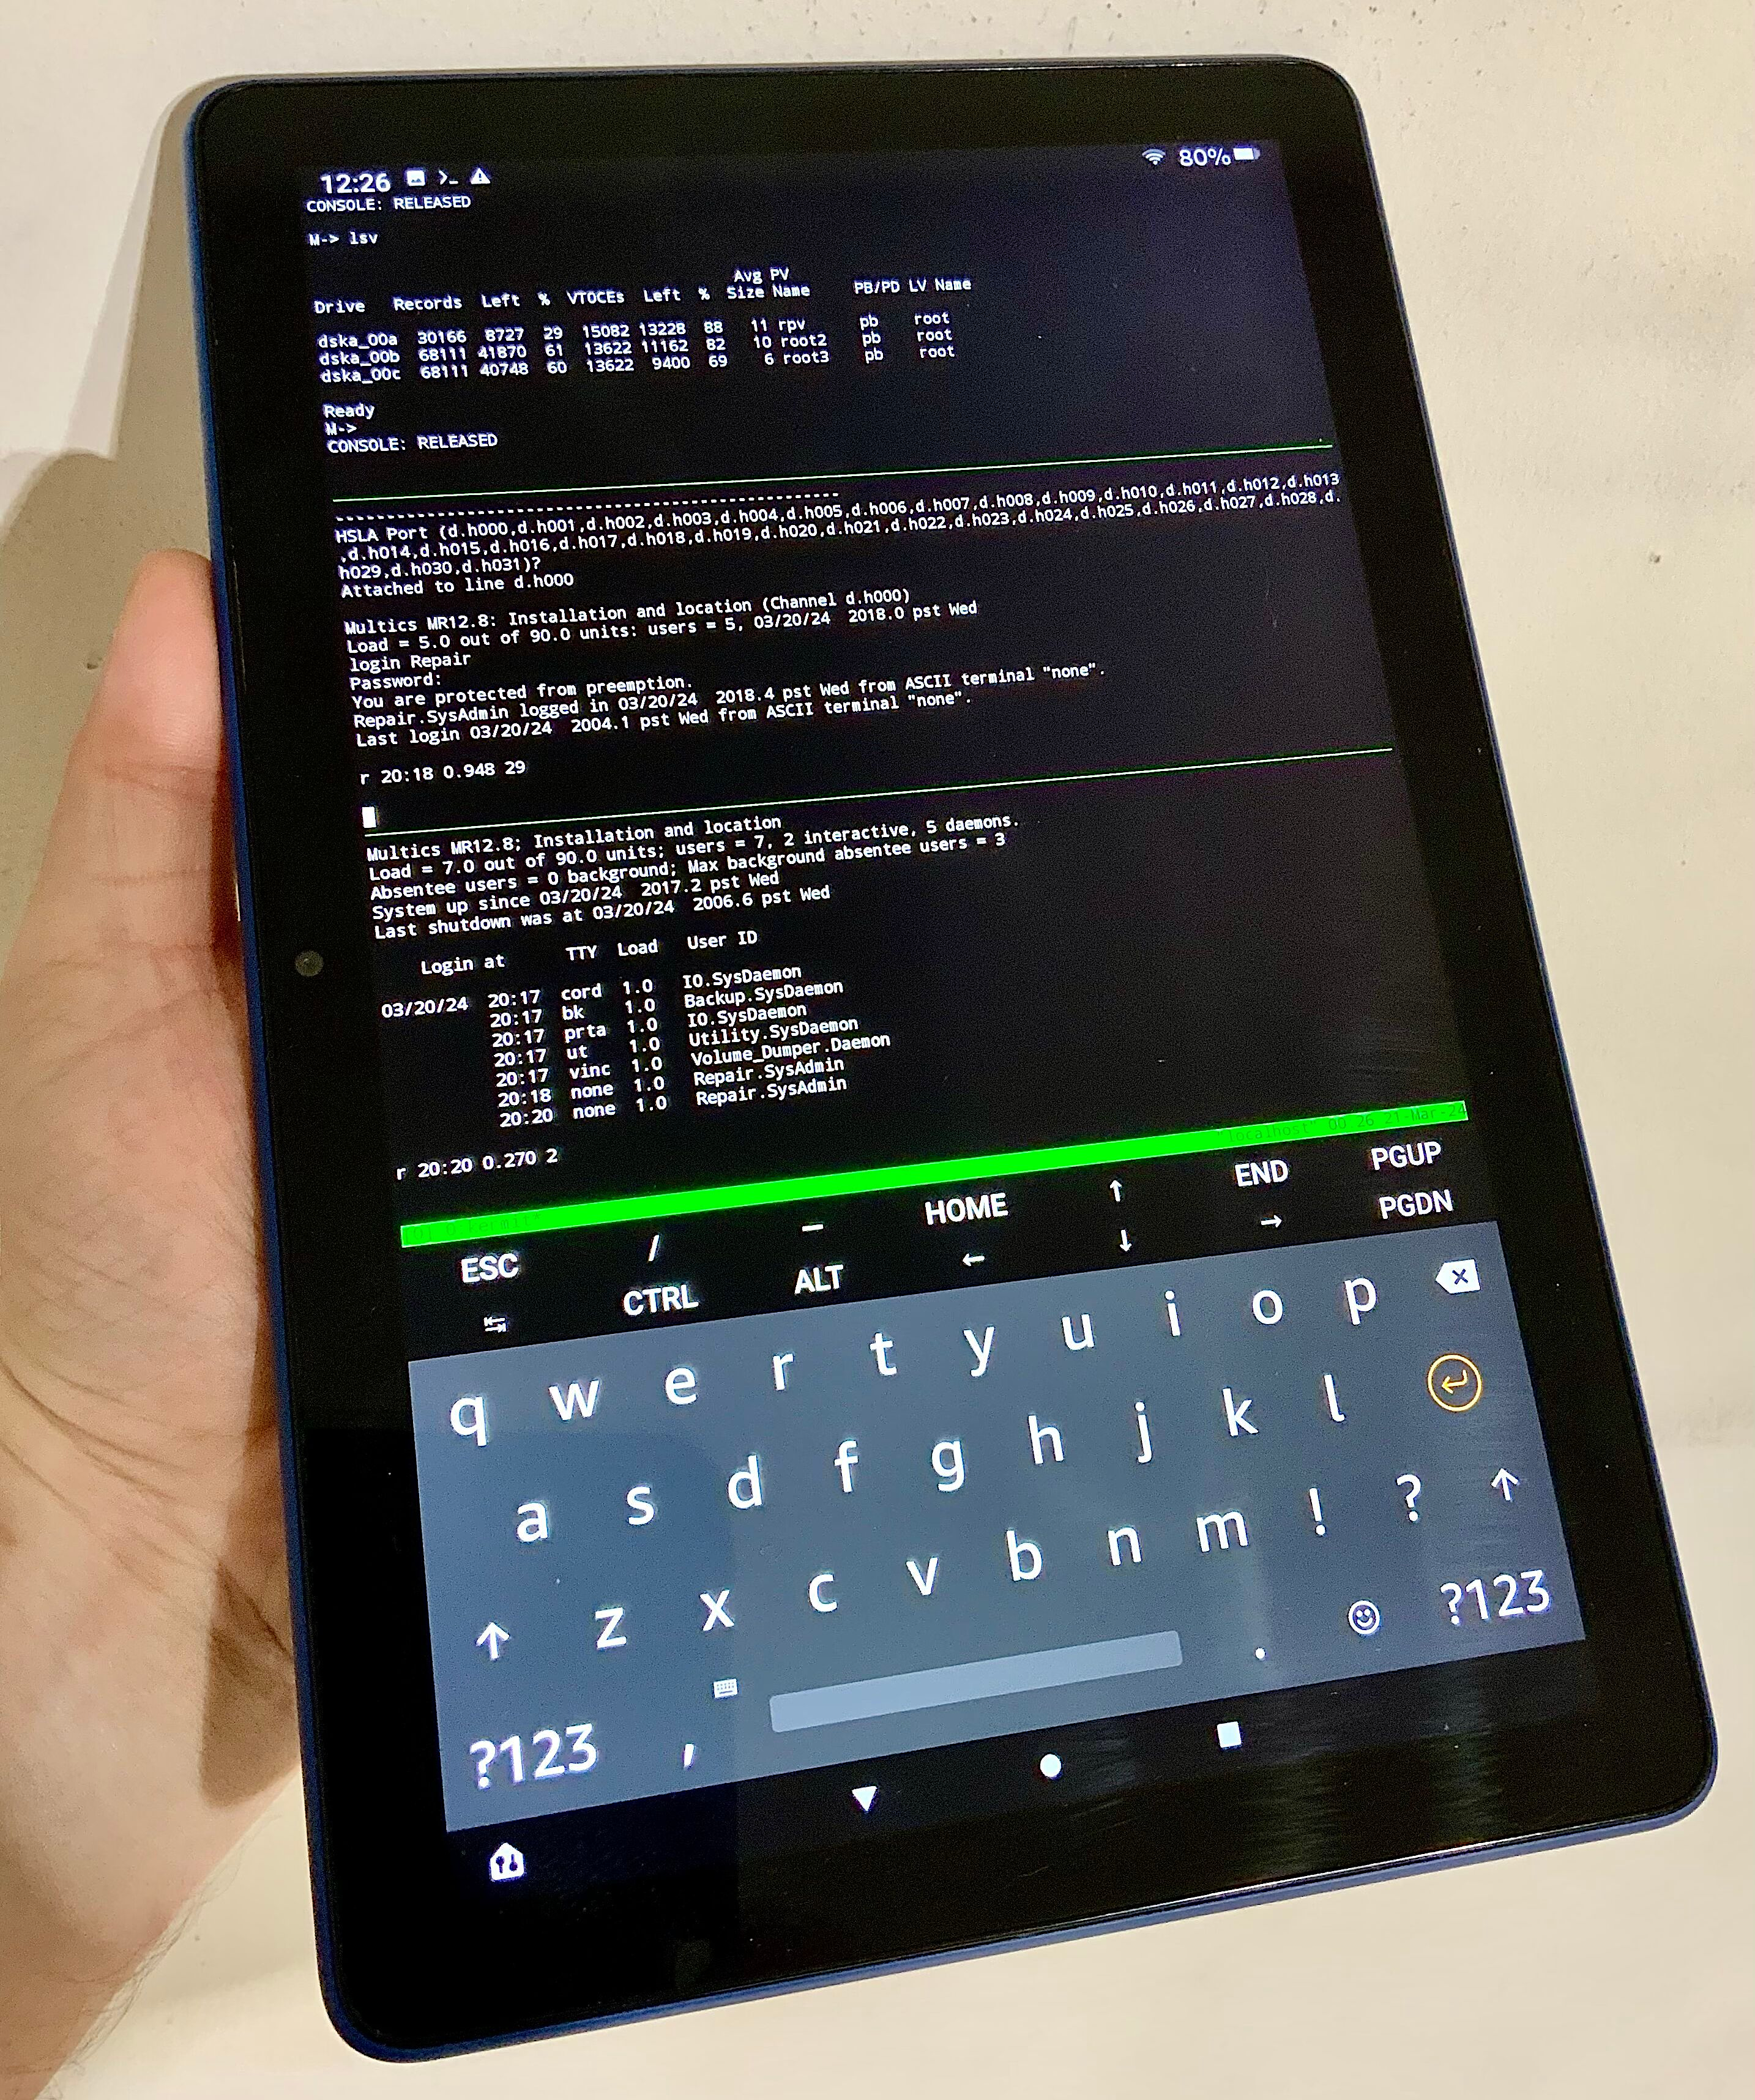
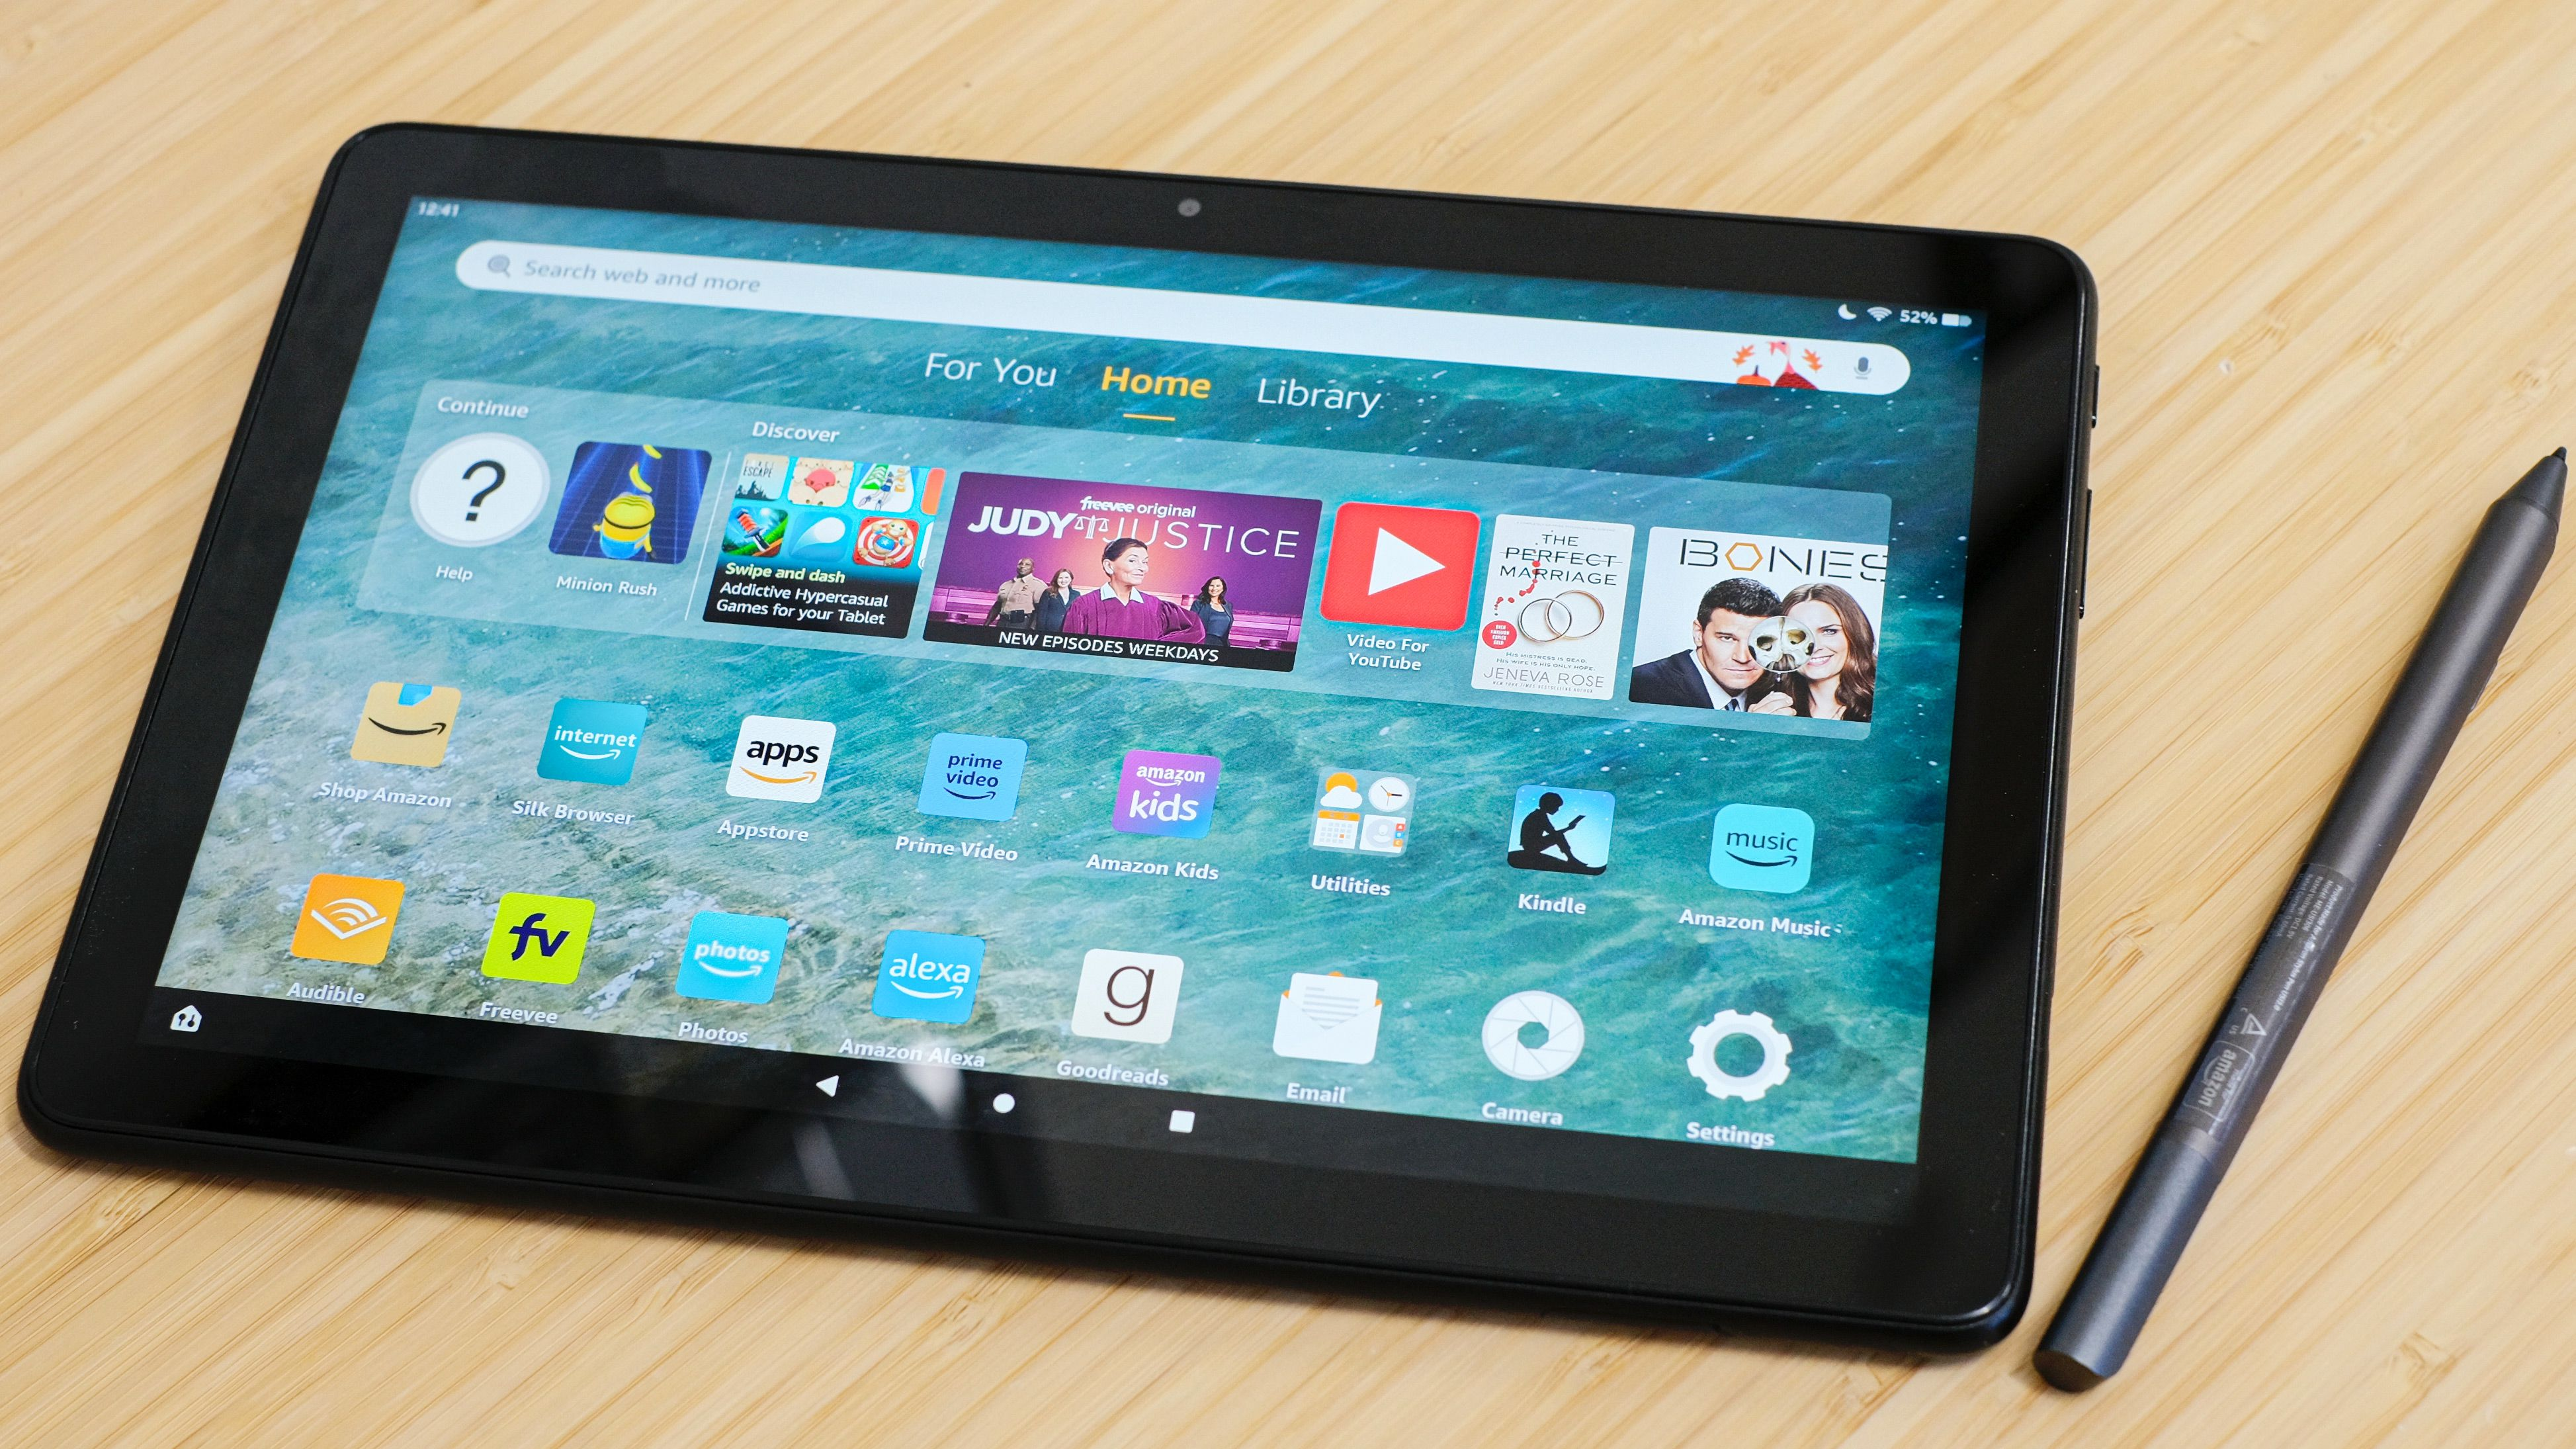
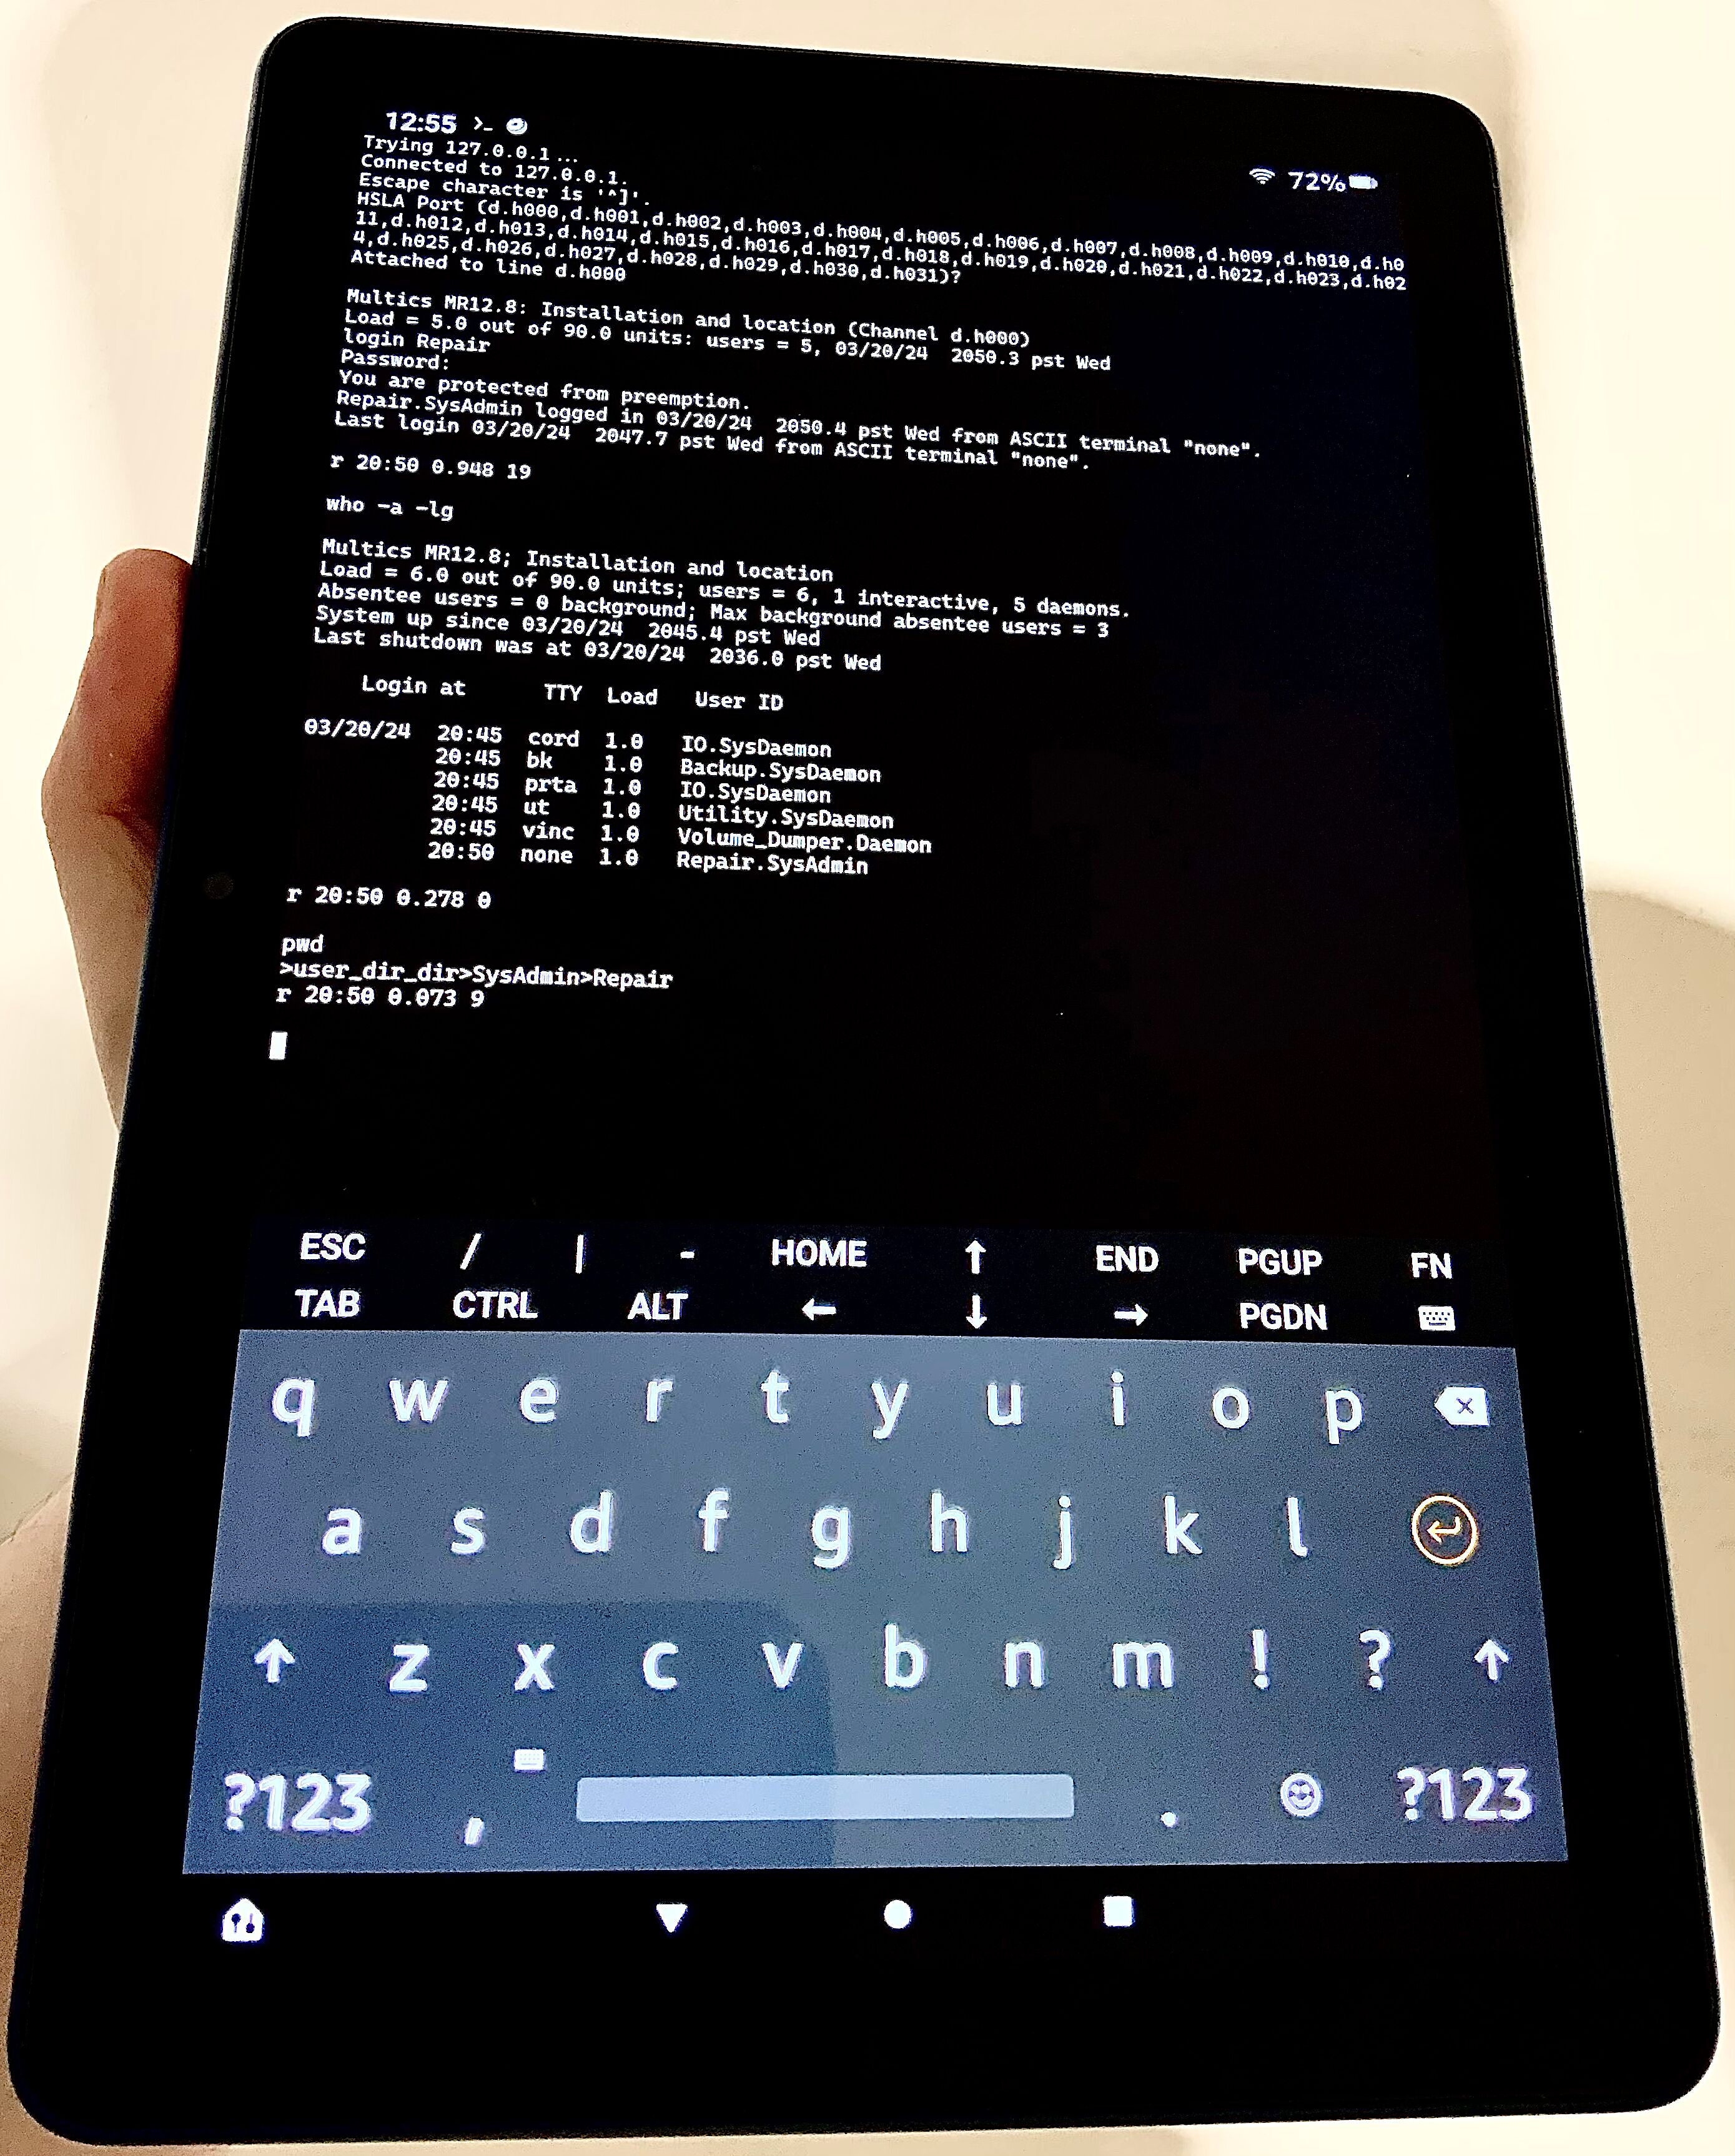
- an Amazon Fire HD 10 (Gen 11) (sub-$100) tablet (8-core ARM64 CPU, 3GB RAM, 32GB storage):
- The Amazon Fire HD 10 tablet was running Amazon Fire OS 7.3.2.9, based on Android 9 Pie (API Level 28), which was the most recent update available for this particular older model. This device was not “rooted” or customized in any way (such as installing support for the Google Play Store).
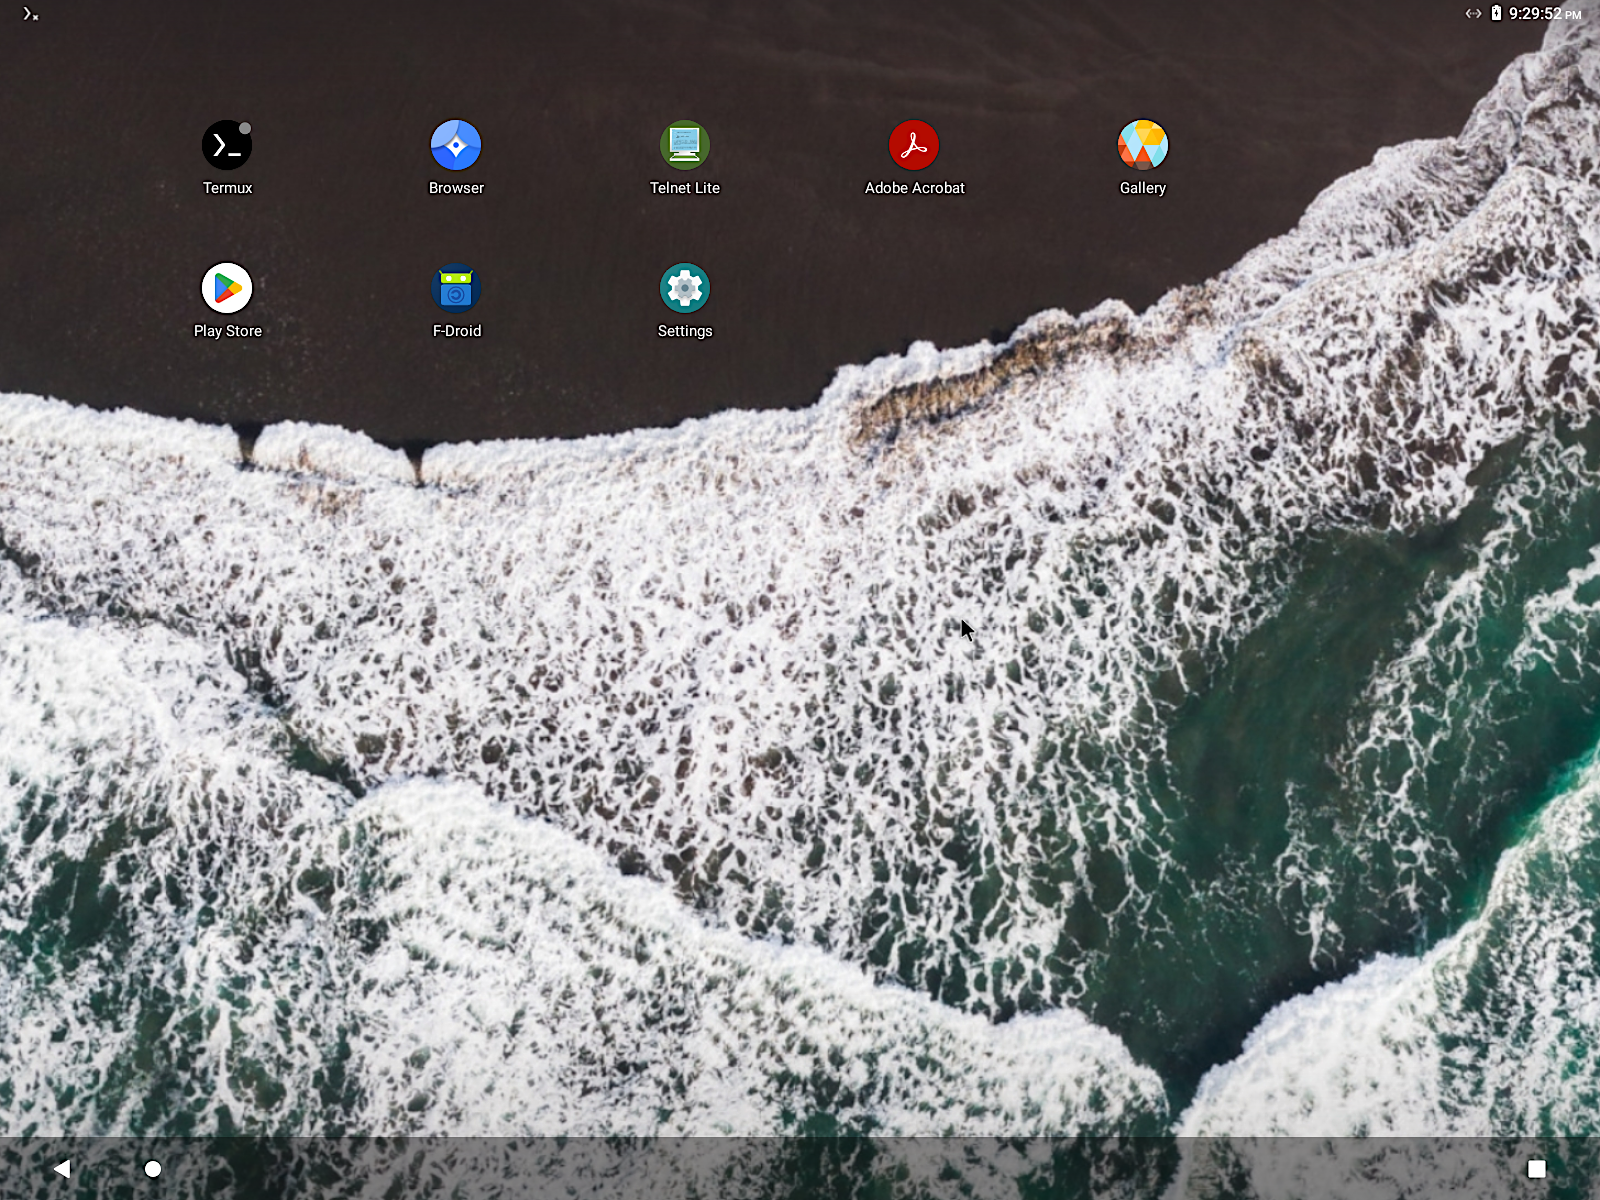
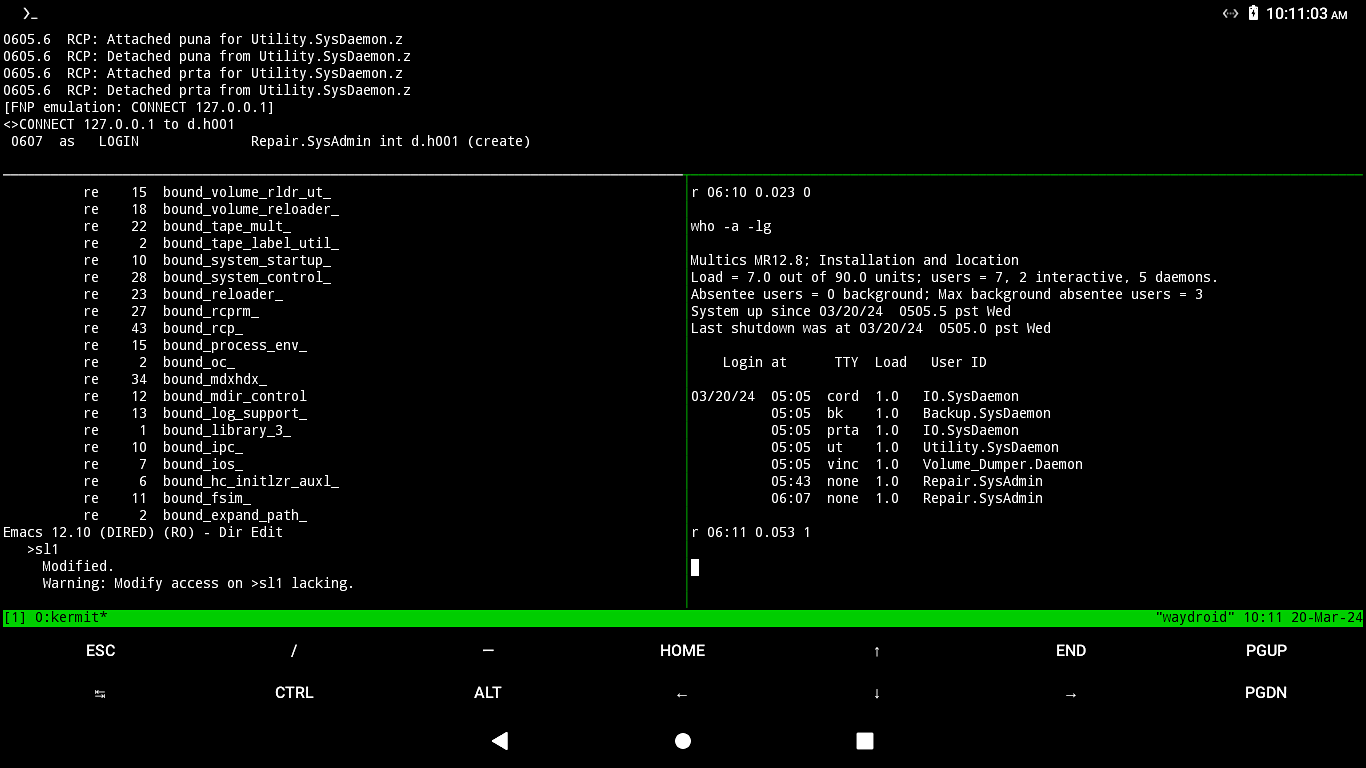
- an x86_64 desktop running on Android on Linux (in a container, via Waydroid):
- The Waydroid container was configured with LineageOS 18.1, based on Android 11 Nougat (API Level 24). It should be noted that support for LineageOS 18.1 ended (on March 16th 2024). We used this for testing because it’s the oldest Android version that we target.
|
|
Later, the owner of the Amazon device was able to get everything going on a high-end Samsung Galaxy S24 Ultra without needing extra assistance.
I was also able to bring up LineageOS 20, based on Android 13 Red Velvet Cake (API Level 33), under Waydroid as well.
It’s necessary to make some initial configuration changes to successfully configure the device for use with the simulator.
These steps are important because you don’t want the Android operating system to allow the device to go to sleep while the simulator is running, or worse, to kill the simulator process while it’s running in the background.
- Disable the Android “phantom process” killer,
- Disable the “Automatic power saver” and “Extreme power saver”,
- Disable the “Battery Manager”, and,
- Enable the “Developer options” menu, and turn on the “Stay awake” option. (optional, but recommended)
- After updating all installed Termux packages (
pkg upgrade), install (viapkg install), the following:
- Next, you’ll want to obtain a copy of the binaries for DPS8M for Android and the current Multics QuickStart. You can use a browser, or
wget,curl, orelinksfrom the Termux command prompt, whatever you prefer, and extract to your preferred location, as you would on any Unix system.
DPS8M R3.0.1 (and earlier) won’t work in Termux out of the box, due the way Android sandboxes unprivileged users. We’ve upgraded our CI builders to use the latest release of the Android NDK and added the necessary workaround for this issue.
- If you experience any error message or a hang while trying to start the simulator, the solution is to:
- Use a bleeding edge build from 2024-03-23 or later,
- Use R3.0.2 (when available), or,
- Build from source yourself (on the device, with Termux).
- Building
gitmasteris trivial with current Termux versions:
We recommend most users just use a bleeding edge build dated 2024-03-23 or later (or R3.0.2 or later, when released).
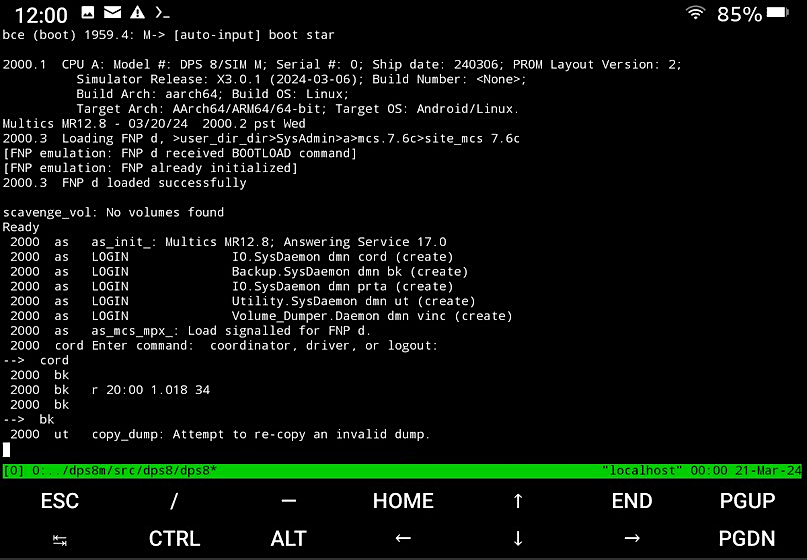
From here, DPS8M on Android works like DPS8M on any other Unix-like platform.
- While we recommend using Termux in conjunction with
tmux, you should keep in mind that Android offers limited background processes. You can save a process slot by startingtmuxwithexec, i.e.exec tmux -2 -u new. You should be able to use at least four terminal windows (or panes), which is sufficient for running the simulator acting as the operator console and a few connections to the FNP via TELNET (usingckermit).
- The Termux terminal emulator is not 100% bug-free. In particular, when using vertically split panes (in a side-by-side layout), as of March 2024, the terminal may incorrectly implement scrolling when using applications under the Multics video system (such as Emacs). As a workaround, use these programs only in horizontally split panes.
- Before connecting to the FNP using
ckermit(e.g.TELNET 127.0.0.1 6180), execute: ckermitis the most configurable TELNET application and comes highly recommended. The only downside is that it requires a terminal emulator and is not a “native” Android application.
- If you are looking for a native Android TELNET client, use JuiceSSH. It’s free and works properly, but is not open source. It can be installed from the Google Play Store (or via an APK on the Amazon tablet).
- We tried other Android native clients (ServerDoor, Termius, ConnectBot, etc.) but all of them had some bug or missing feature that would be important when working with Multics.
- Only
ckermitsupports file transfers between Android and Multics.
- The Termux terminal emulator is not 100% bug-free. In particular, when using vertically split panes (in a side-by-side layout), as of March 2024, the terminal may incorrectly implement scrolling when using applications under the Multics video system (such as Emacs). As a workaround, use these programs only in horizontally split panes.
- A hardware keyboard is a necessity for almost all non-trivial usage. Even with a real keyboard, trying to do “serious” work on most mobile keyboards is not very Multicious, but without one, this kind of setup is merely a novelty.
|
|
You might wonder how well a sub-$100 Amazon tablet performs?
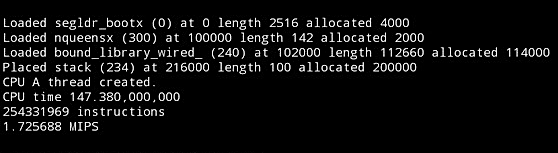
About the same performance as a real DPS-8/70M — and configuring multiple processors is supported.
All in your pocket!